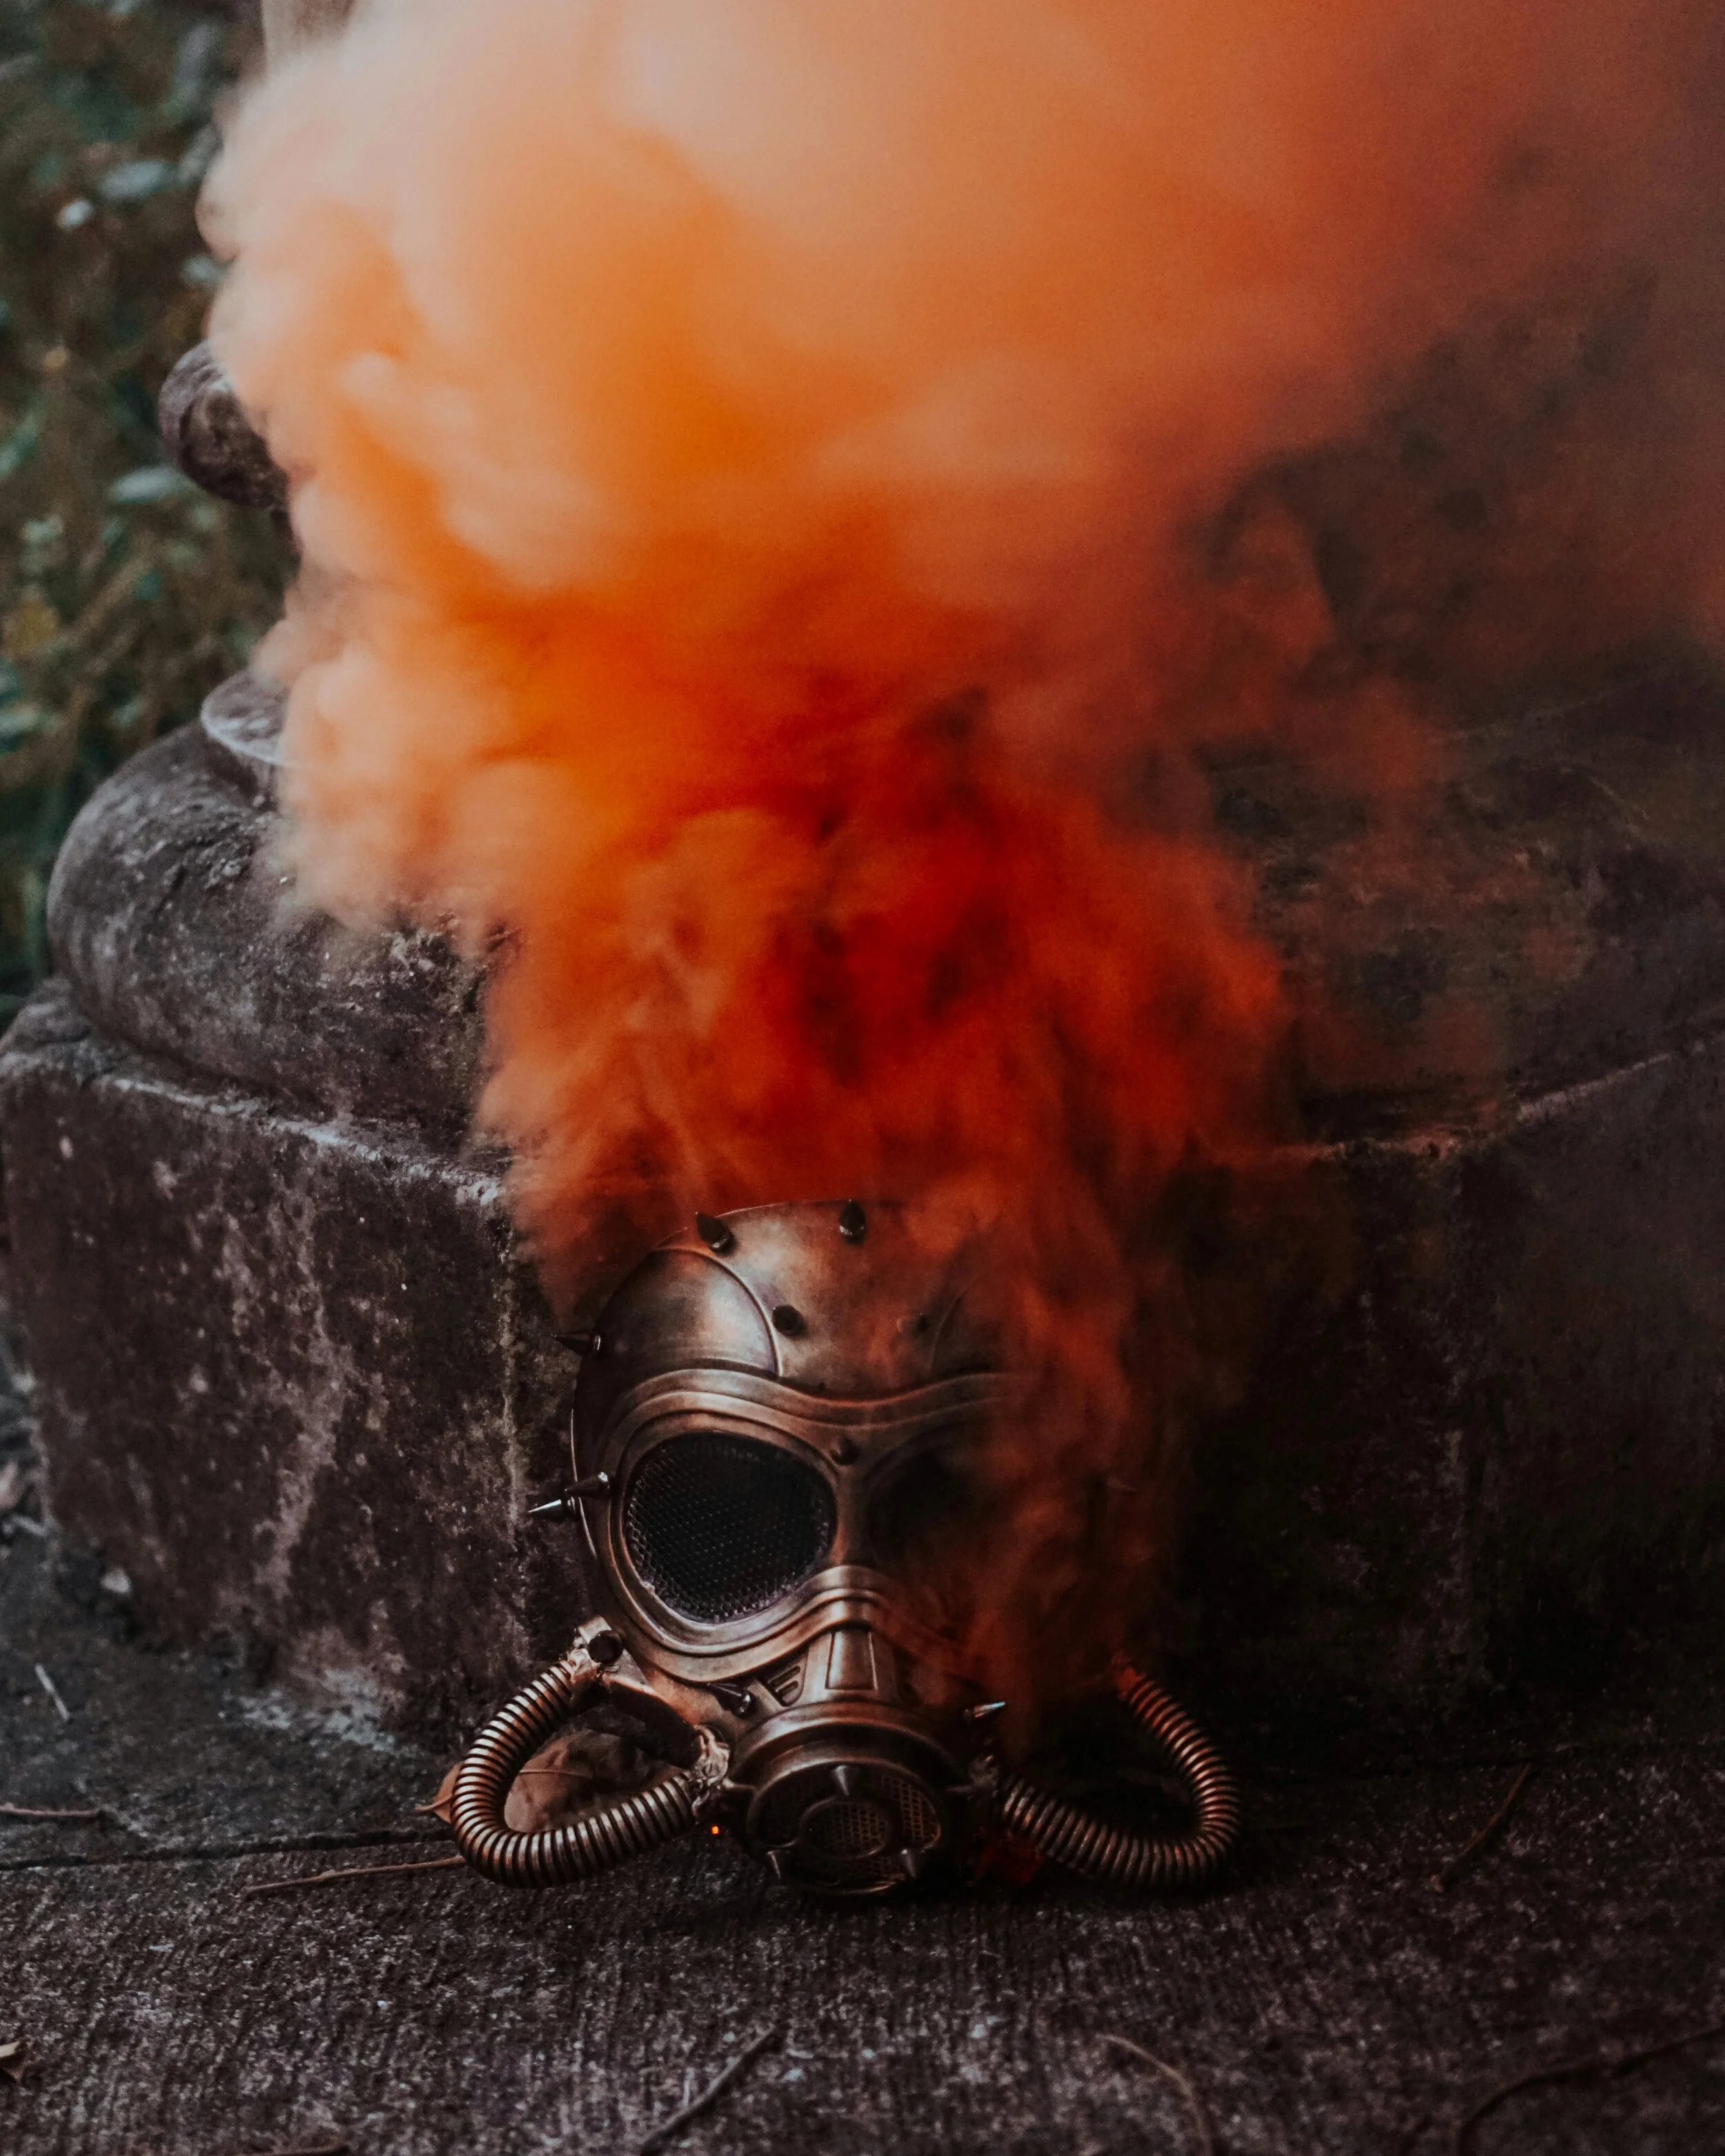
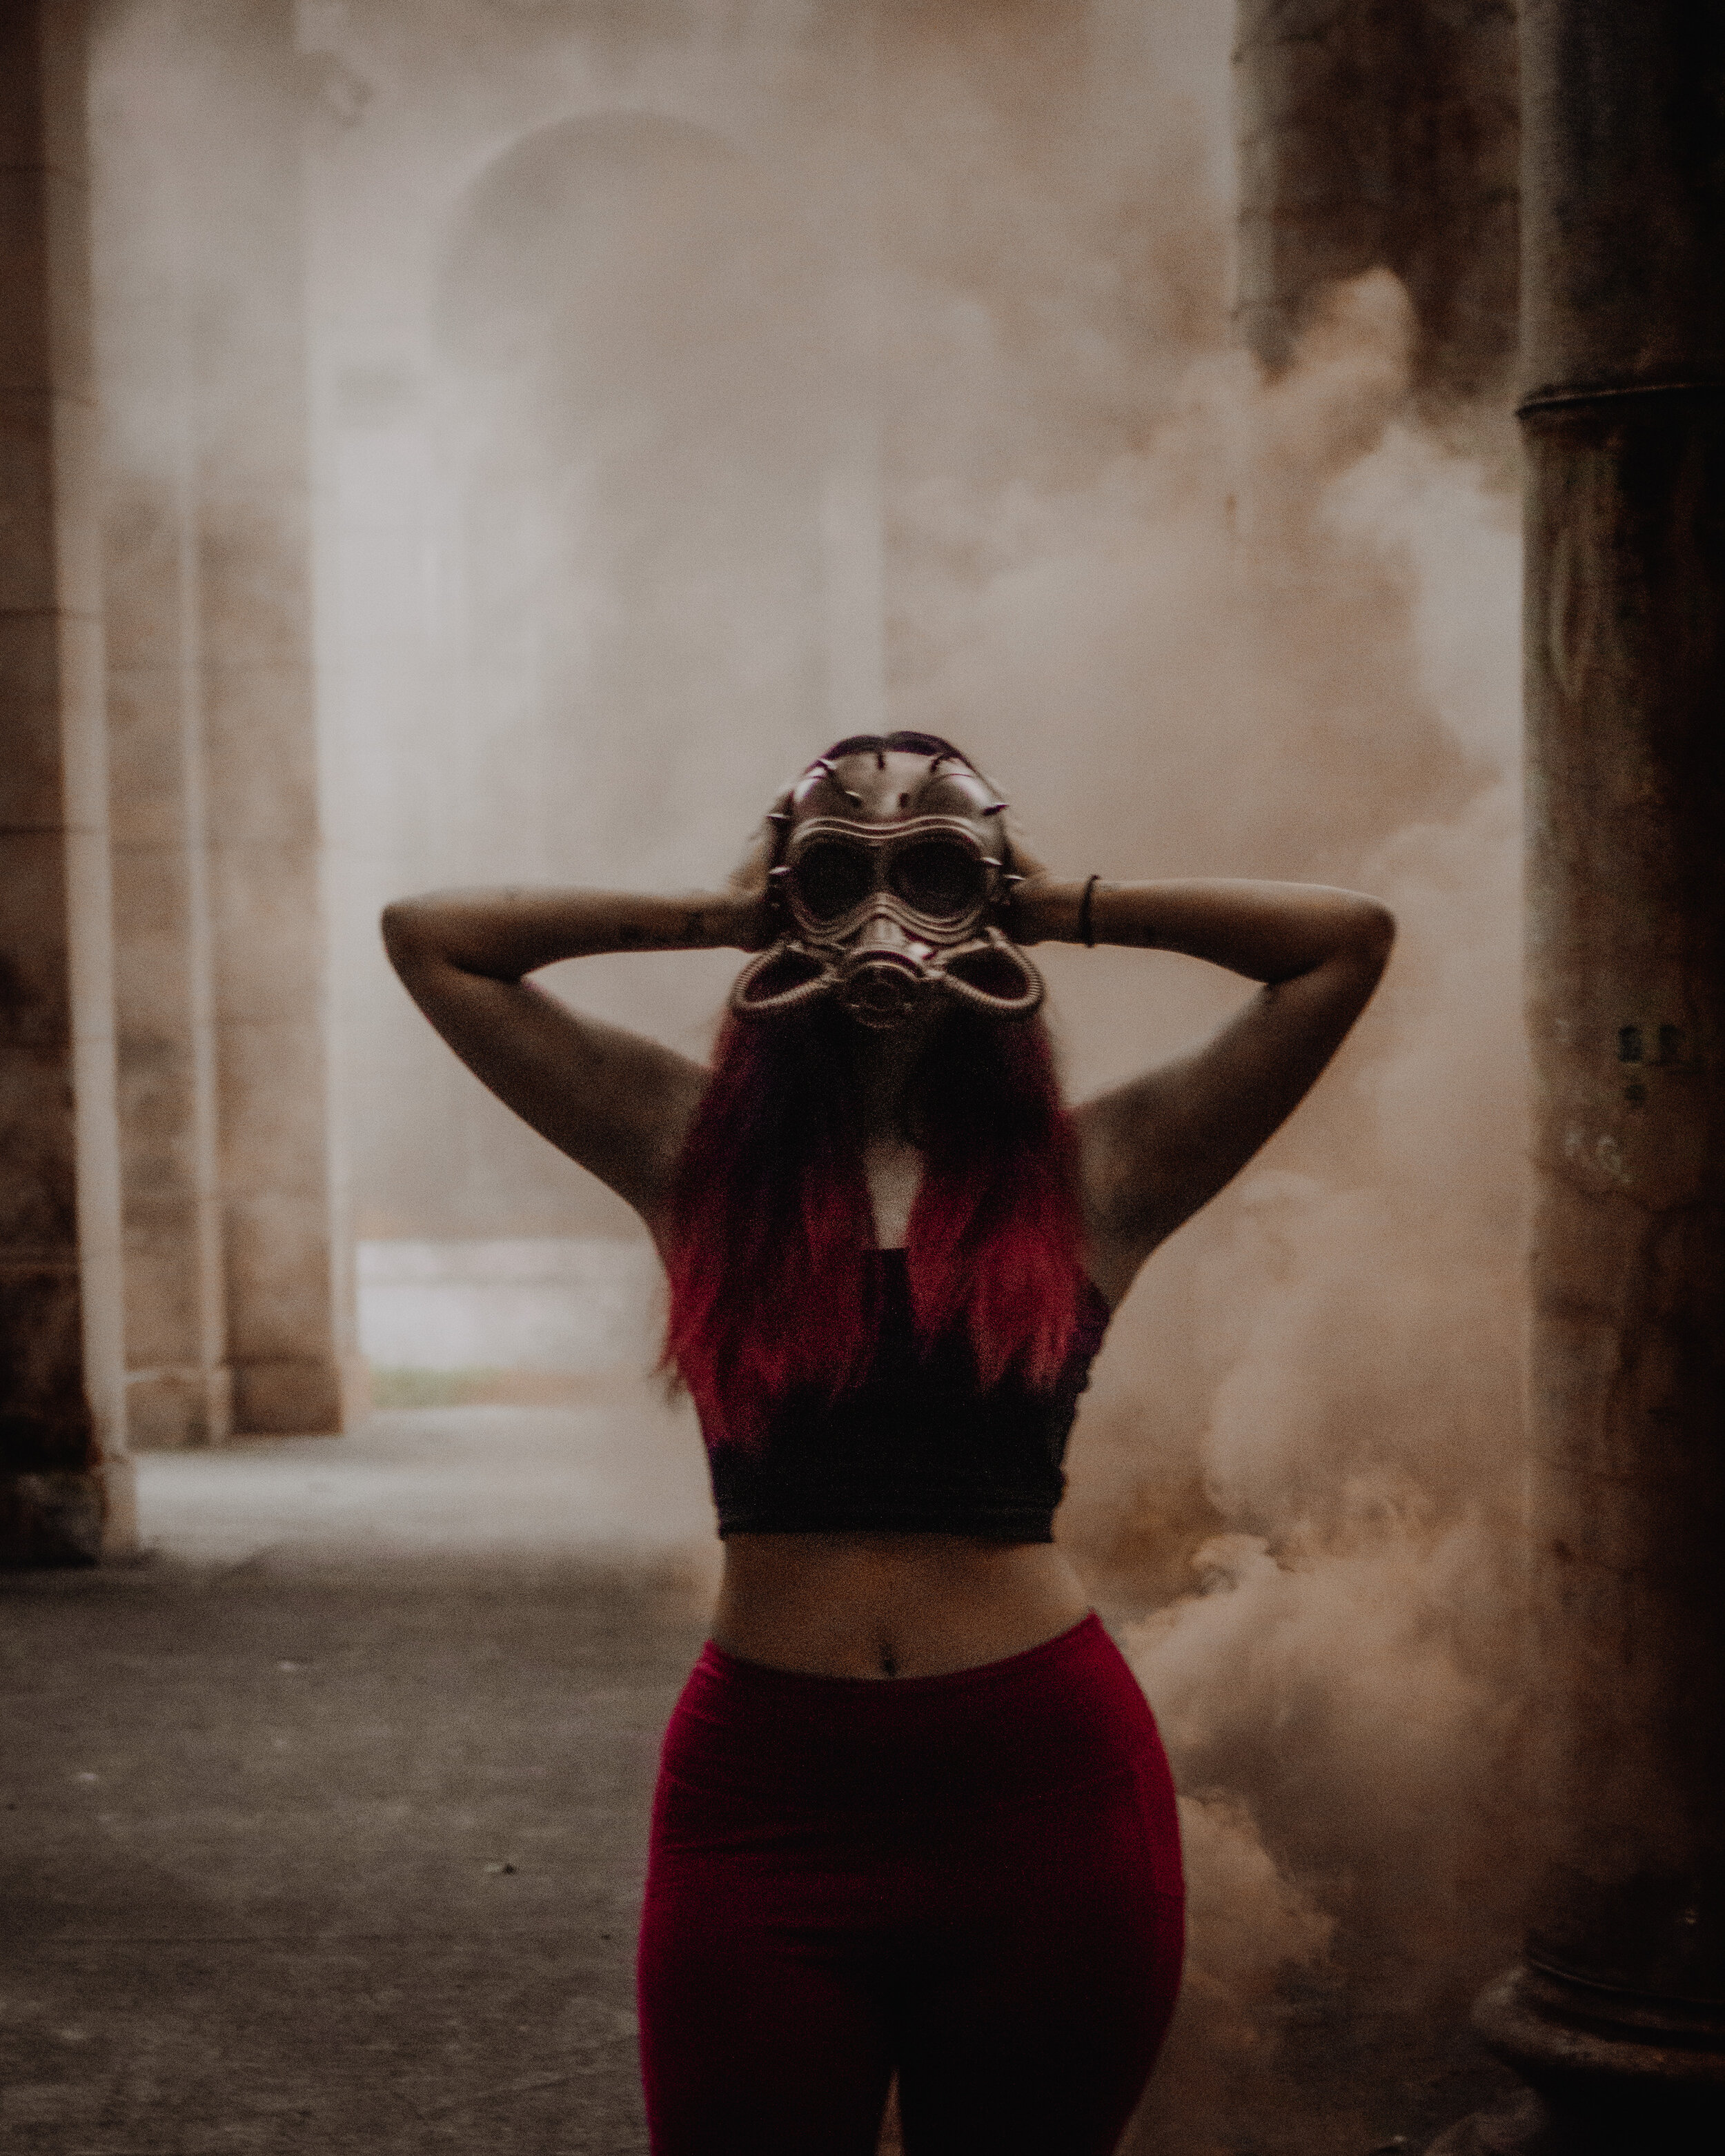
Everything you Need to Know about Smoke Bomb Photography


Looking for a unique and creative way to add some color to your next photoshoot? Smoke bombs are here to knock your socks off.

Often called smoke sticks, cakes, or grenades; these bursts of vibrantly-colored smoke bring the wow-factor to any photoshoot.

You may have seen smoke bombs used in gender reveal announcements, but they have so many other uses in photography. I personally think these work perfect for Halloween.

Let’s get into the tips and learn how to really make the most out of your smoke bomb photoshoot.

Everything you Need to Know about Smoke Bomb Photography

What are smoke bombs?

Essentially, smoke bombs are fireworks that produce colored smoke for up to 90 seconds when ignited.

 What are the types of smoke bombs?

Smoke bombs come in several different forms, including cakes, grenades/balls, and sticks. They are ignited by fuses, pull rings, or are lit directly like incense. Some are just the colored smoke cake and some have packaging for easy handling. The type you choose to work with will depend on our desired results and experience.

Where can I get smoke bombs?

Small smoke bombs are often sold at firework stores, but these are useless for photography. For full color, long-lasting smoke bombs you want to use a more professional product. My favorite brands are Smoke.Effect and Shutter Bomb - Affiliate Link here.


Smoke Cakes

I ordered these smoke cakes on Amazon just to see what they were all about. They do not have any pull-tab or fuse and are lit similarly to the way you would light incense.

Compared to the professional product, I noted the following:

Pros:

  • They can be broken apart for multiple uses

  • Inexpensively priced for a multi-colored pack

Cons:

  • Trickier to light as they are lit like incense

  • Since there’s no packaging, you can not hold them in your hand, and are a bit messier

  • Took a while to ship

  • Some arrived broken

The smoke they produce is less vibrant and less dense. This makes them great for small props around the face or with children or those that are sensitive to smoke. Overall, these are a great place to inexpensively practice working with smoke bombs or to use as recommended above.

Smoke Balls/Grenades

These are like the Gucci version of the smoke bombs you can buy at your local firework store. They are lit with a fuse and ideal for tossing in props. They are small, but strong, and produce an abundance of thick-colored smoke for their small size.

Smoke Sticks

If you’re really looking to make a statement with your photos, go for a smoke stick. These will create those big clouds of smoke you often see in smoke bomb photography.

The ease of handling, igniting, color vibrancy, and general production of active colored smoke make these perfect for photoshoots.

What I really like about these is how well they create a smokey background. Since they are so big, the smoke will often linger in the background while it’s still smoking around your subject.

These sticks can be held in your hand and can be single or double-sided, with smoke coming out of both ends. Single-sided smoke bombs will last longer than double-sided smoke bombs.

 Tips and Tricks for Epic Smoke Bomb Photography

- Remember you are working with smoke. It cannot be controlled and you have a short amount of time to capture the shot before the smoke changes.

- Get your settings right, nail down your angels, adjust all the props, and then get the smoke going.

- Pre-plan every pose and practice shooting them before adding the smoke. This way, you know what you need to shoot and your model knows which way to move. You do not want to be scrambling to direct a model while the color is wafting away.

-Have both the model and photographer prepared to move around. The smoke can quickly overpower an area if you keep it in one spot. To get the best shot, move around and move the bombs.

- Pick a day with NO wind. The wind is going to cause the smoke to separate and lose any distinct shapes of the clouds and cover your subject more quickly.

- To create an aesthetic distinct smoke trail, move the smoke bomb back and forth as it’s smoking, holding it in place for a few seconds each time you move it. This will allow the smoke to clear in one area and allow you to bring it back, essentially wiping the area clean and making it look like the smoke has just started.

- Have your model or subject step in and our of the smoke cloud with your camera on the shutter to increase your chances of the perfect smokey shot.

- Experiment with a fan, different light sources or tie the bomb on strings and spin them for cool effects.

Cautions

-  Do not forget this is a firework! They can spark and get hot. When choosing a brand, definitely make sure your bombs are cool burning and safe to hold in your hand.

-  Since technically, these can burn, pop, or explode, keep them away from your face as best you can.

-  Always have a bucket of water nearby just incase

- If you are going for the pumpkin shoot, it will stain your pumpkin, so start with the lighter colors first or prepare to photoshop as I did!


Frequently asked Questions

  • Are they hot in your hand?

    Not really, so long as you don’t touch the part that is actively smoking

  • What is the best bomb for a gender reveal?

    If you plan to put it inside of something, the grenade is the perfect amount of smoke to announce the gender while still allowing for plenty of good photos. The bigger sticks smoke a lot and might not be what you are going for.

  • Do they stain?

    I have not experienced any clothing stains, but the smoke can stain concrete/grass if you put the smoking side on the ground. You will see this with double-sided bombs or if it gets knocked over.

  • Do they smell?

    Yes, they smell a little bit like fireworks, which is not a bad smell to me.

Photoshoot, Prop and Pose Inspiration

This is where you can be the most creative. Use the smoke in props or behind your subjects for seriously spooky and creative photos sure to impress anyone.  

 Don’t be afraid to get creative with your photos. Where would you normally find smoke? Some ideas to play with are army, fire, graveyard, zombie, or gas masks. Since these can go in props throw them in cauldrons, bottles, pumpkins, or even just hold the sticks in your hand.

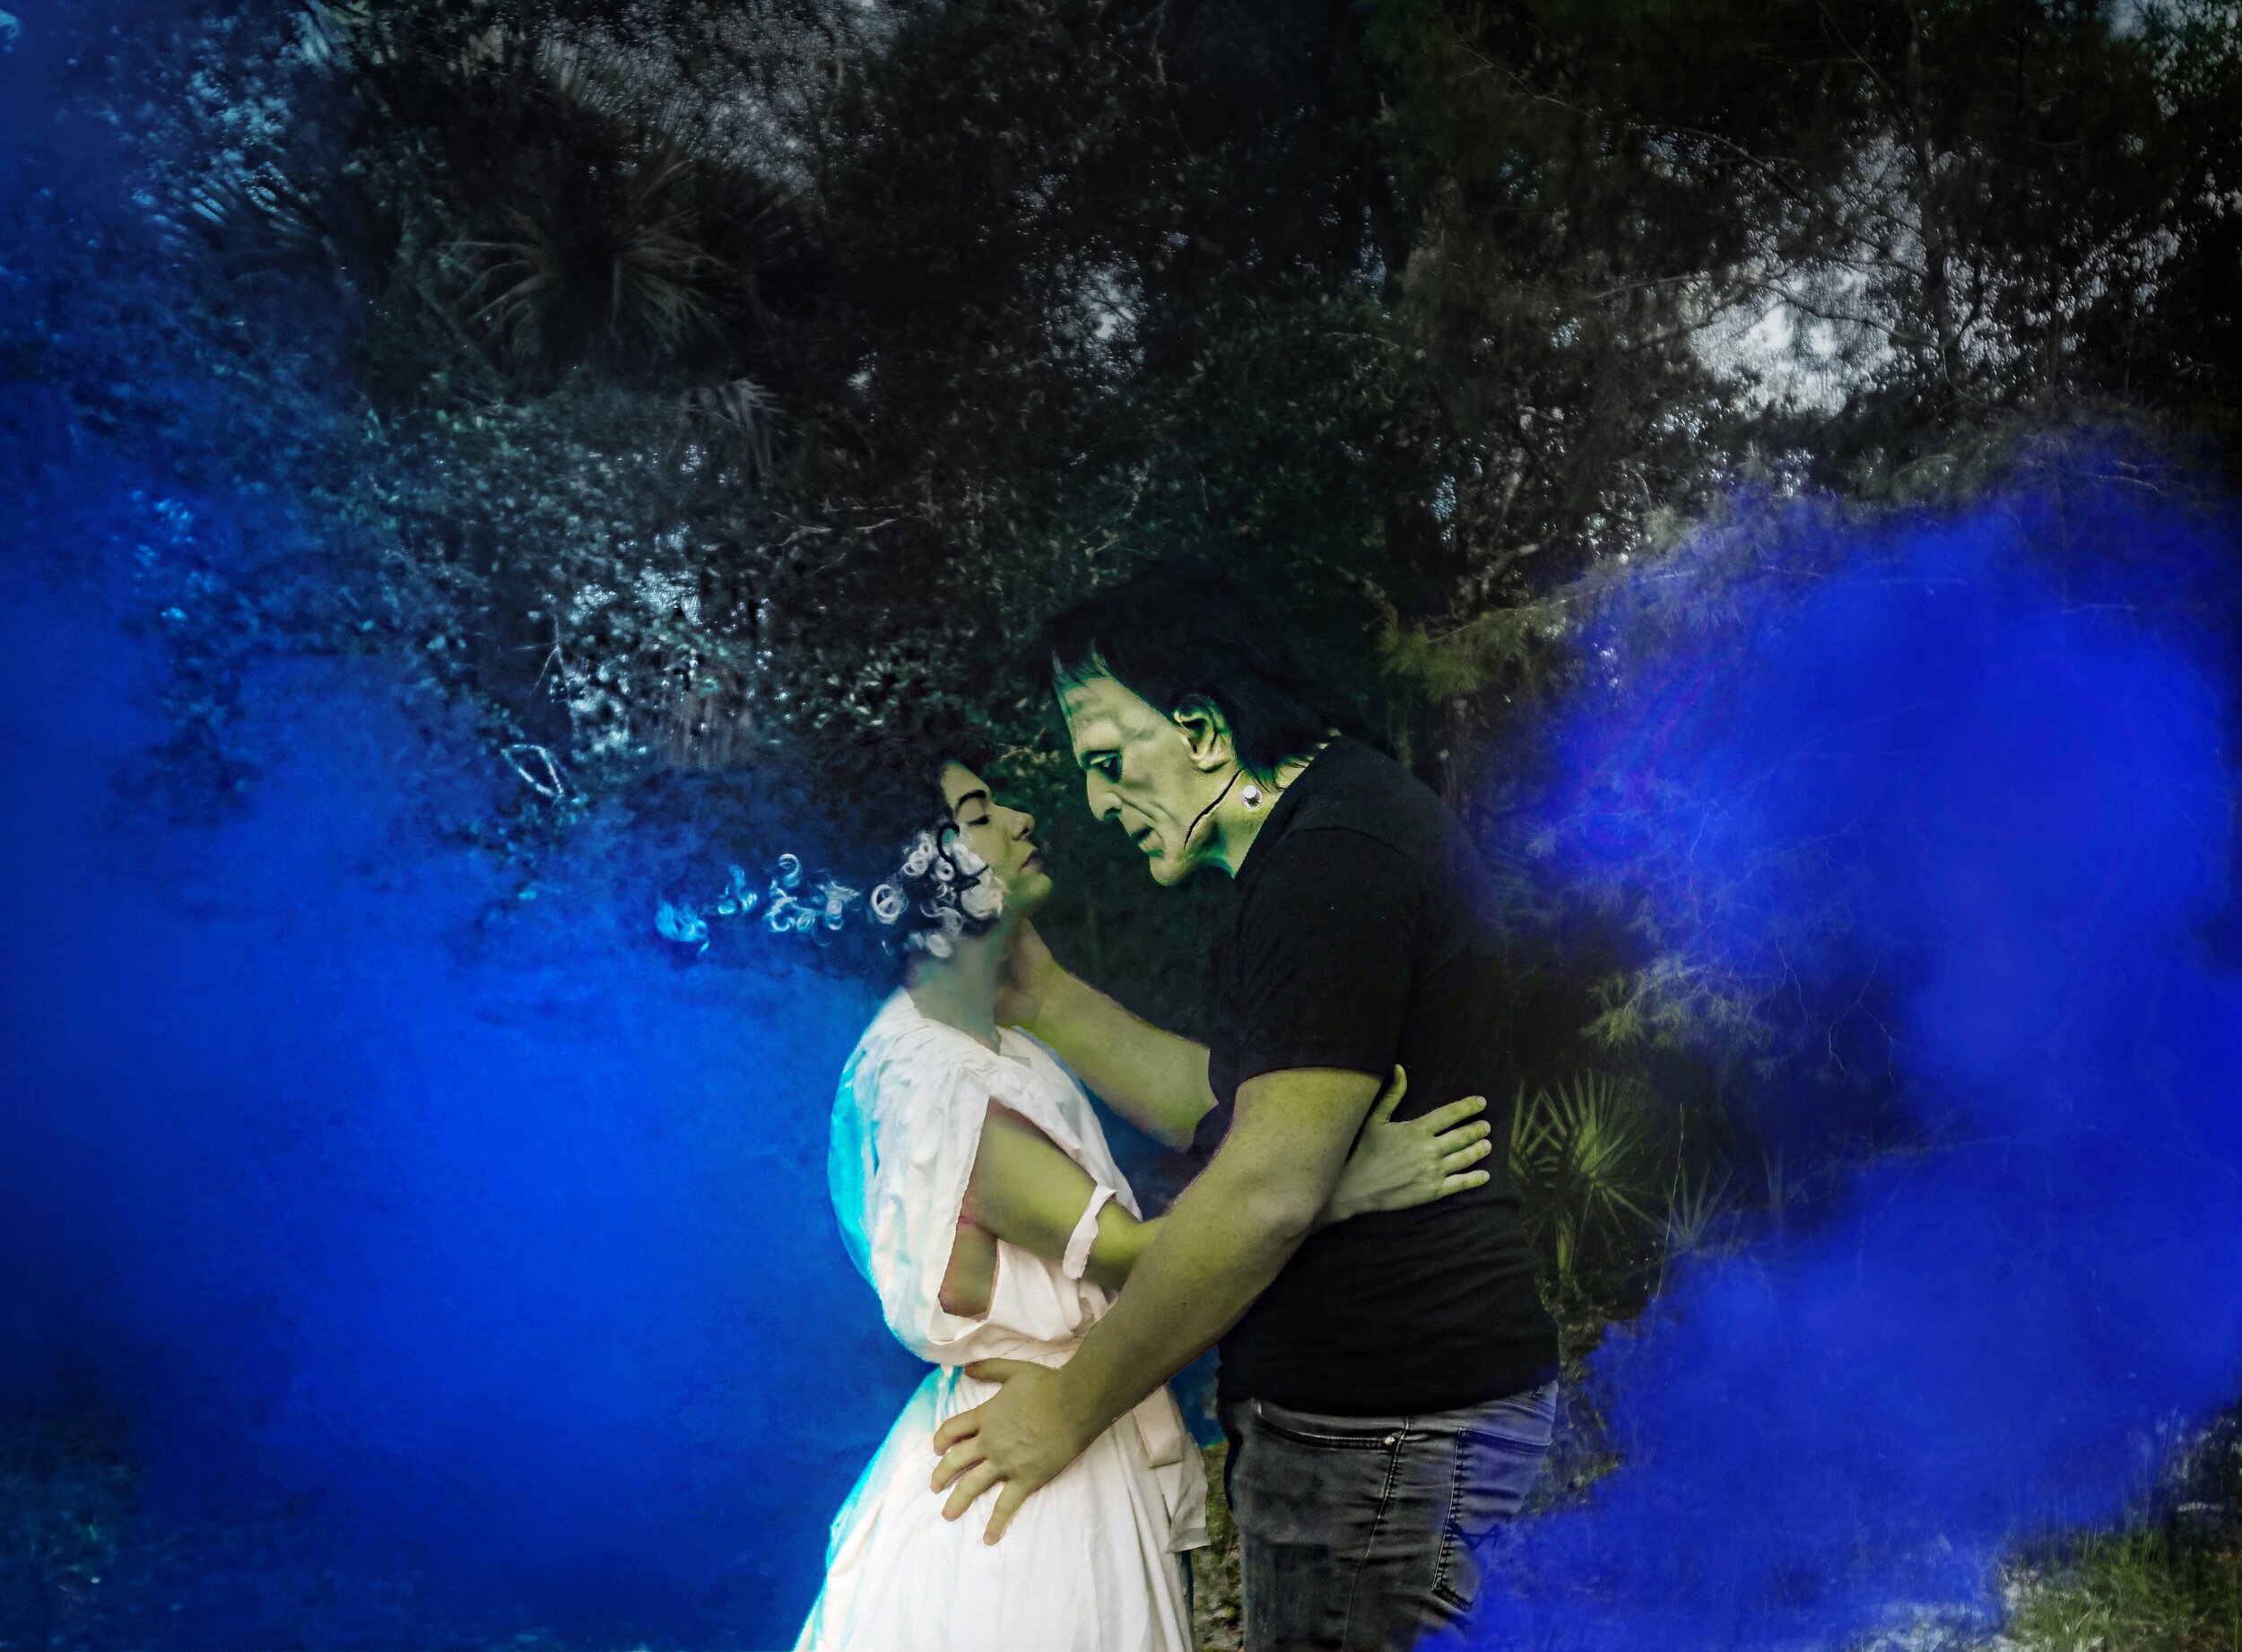
This is the most creative series I have ever done. It was such a blast. I hope you guys grab yourself some smoke bombs so you can create some epic smoke bomb photography too.

How would you use your smoke bomb?

10 Creative Underwater Photography Tips 💧

 
Facetune_31-03-2019-17-49-01.jpeg

Underwater photos are so dreamy! Even if you’re not a pro in the water or with a camera, you can still create beautiful photos underwater. It just takes a bit of knowledge and practice. Here are ten things I try to keep in mind when taking underwater photos.

~ Incorporate Flowing Fabric or Clothing

Facetune_06-04-2019-15-46-09.jpeg

Part of what makes shooting underwater so magical is the movement. I love experimenting in the water with fabric and letting it swirl around me. You can play with dresses with long trains, skirts or use large cuts of fabric to achieve a similar effect.


~ Experiment with Poses

IMG_1456.jpeg

I’ve come to notice that poses that look good out of the water don’t always look good in the water and vice versa. Since you’re working with different gravity, try all kinds of poses that would either look crazy or be impossible to achieve on land. There is so much room for experimentation under the surface. Have fun with it.


~ Take a Split-shot

GPTempDownload.jpeg

A split shot is style of photograph where the lens is half under the water and half above. To make it even easier to achieve, you can use a dome attachment for your camera. Opt to take a split shot when there are items of interest both under the water as well as above such as rocks, fallen trees, a mermaid or animal.

~ Play with Reflections

IMG_9037.jpeg

Keep your eye out for interesting reflections on the top of the water. Tilt the camera upwards a bit to get this area in the frame. Aim for a perfect a mirror image, however the swirls created with different colors and shapes look cool too.


~ Add in Effects

F00359E1-C7FB-4C5B-952F-2F0EC0032802.jpeg

I love using bubbles, orbs, rainbows or sun rays in the apps Lightleap and Motionleap to make the photos even more whimsical.

4EA378A0-727C-4107-9458-4747854E6E9E.jpeg

~ Pull your Photos from Video

0CB9EB5C-917E-4C45-A444-779C7A36B5B9.jpg

This is my number one tip. Since there is so much movement underwater between hair, fabric, floating leaves, bubbles, hands, legs etc. it’s hard to otherwise compose the perfect shot with all elements in perfect alignment. In the past, I would think I nailed a shot only to discover a bubble over my eye. Now, I simply video everything and pull the best photos from the footage.

~ Use Props

I actually don’t have a photo where I am using props, but I’ve seen many underwater Halloween and mermaid-themed shoots incorporating different accessories, props and outfits that playfully bring a creative vision to life.

~ Practice - A lot

D48022CA-3779-45BD-8F37-688C3422731E.jpg

Holding your breathe is hard work and so is controlling all parts of your face, body, clothing and hair to hold a pose while floating. Underwater photos are something I’ve had to really really practice, but its worth it!

~ Explore Caves

GPTempDownload.jpeg

If you’re looking to create interesting underwater photos, consider diving deep and seeking out caves and crevices, especially here in Florida. These types of photos and videos are always so beautiful to see.


~ Look for Playful Natural Lighting

B4B1D02D-775F-4210-9BE8-E7EFF869D776.jpeg

Depending on where you are and the time of day, nature may already provide beautiful natural light for you to work into your photos instead of adding it in post. Underwater photos with natural light rays are truly mesmerizing.

Writing this post has really inspired me to carve out that kid-free time in the water to practice both my freediving and my underwater photography.

How do you like to play with underwater photography?

One-click Sky Swaps that WOW

I’ve written about the sky swap tool in this post, but I wanted to dedicate a whole post to this magical tool. Replacing a sky is a one-click fast and easy way to drastically enhance a photo.

There are plenty of other ways to edit a sky, but since I edit on my phone, this is my favorite way. I use the apps Light Leap and Motion Leap. They have a few editing options I suggest you play around with once you’ve replaced your sky including changing the ambiance of the whole photo, filling or removing sky and adjusting the horizon.

~ Here are some sky swap examples in action ~

~ The Sunset or Sunrise

01EB64BB-6553-4000-A9F6-22233BA73BB3.jpeg

Every so often I come across a photo with tones that would better complement the orange and reds of a sunset then the original sky. Faking a beautiful sunrise is also a great example of a ‘let’s not and say we did’ situation if you don’t feel like waking up early!

~ The Washed-out Sky

Facetune_24-01-2021-17-16-34.jpeg

I love the lighting on a cloudy day, but gray skies don’t make the prettiest photos. This pic was shot in NC in winter and had a washed-out gray sky but you wouldn’t know it thanks to the sky swap.

~ The Boring Sky

IMG_0542.jpeg

Sometimes a sky is just boring. In that case, I choose a sky with lots of clouds to liven it up. In the example above, the sky takes up 2/3 of the photo and needed to be more detailed.

~ The Beach

IMG_2115.jpeg

I often change my skies in beach photos to make them a little bit more interesting. Usually beach photos have a lot of sky in them and I like those photos to look more whimsical and interesting.

~ The Extra Element

838A171B-06CB-460F-88D7-313E0582A415.jpeg

There are several sky options to choose from that include suns, moons and even birds. Choosing a sky with an added element can really improve the photo’s composition.

IMG_0456.jpeg


~ The Fantasy Sky

05A379E6-B203-4EEA-B0EA-B51E75AA6492.jpeg

With these edits, it’s pretty obvious that the sky is fake, but these are so fun to edit. On occasion, I like to be playful and make a pink sky. It’s like lipstick, we know that’s not the real color, but it’s pretty.

5B476FAC-998B-49F1-AFE9-993035DBFE6B.jpeg
F49098D0-0CE2-4DC6-A8A2-51051B16A5B4.jpg
IMG_5097.jpg

Have you tried the sky swap tool?

7 Creative Floral Photography Tips🌺

Sping is finally here and so are our flowers in full bloom. The winter of 2020 was a long one, am I right? Seeing patches of wildflowers along the roads inspired me to put together this post with some of my favorite flower photos from adventures past.

Mother Nature does a fantastic job setting a picture-perfect scene with her alluring details, shapes, patterns, and colors. Despite the natural beauty found in nature, I have a few tricks I use to help my photos pop. Even though I am writing this post to focus on flowers, these tips can be applied to a variety of smaller subjects, especially mushrooms and butterflies.

~ Mind the Background

Adjustments.jpeg

Remove any distractions from the background to create focus. In this original photo, there were pink flowers in the background that ended up looking like distracting pink dots. I removed them to keep the focus on the subject.

~ Blur the Background

Adjustments.jpeg

Blurring the background always makes the subject appear crisper and helps your eye focus on the details no matter how small or intricate.

~ Add Water Droplets

Adjustments.jpeg

Yes, I said ADD. I prefer to shoot in the morning when the natural dew is still visible. If not, I add the water droplets myself. I always carry a tiny spray bottle filled with water in my camera bag. I find the photos much more eye-catching when water droplets are added. I discovered this on accident when I was photographing one day in the rain and realized I loved the look.

~ Place an Element in the Foreground

Adjustments.jpeg
IMG_3750.jpeg
Adjustments.jpeg

Sometimes the added element can cause a framing effect, drawing your eye directly to the subject while also creating another level of interest. It helps if these elements are out of focus, even if you have to blur them in post. When shooting in nature there may be leaves or grass that naturally get between you and your subject. It’s not always possible to move them out of the way and you may prefer the look. You can always hold up a blade of grass, leaf, or petal in front of the lens to create this effect.

~ Fake it

Facetune_31-12-2018-12-50-12.jpeg

Nothing wrong with pretending a flower from the florist is still growing like I did for this temporary tattoo campaign. I’ve been known to seek inspiration from flower shops, picking up a few blooms and staging a shoot.

~ Use Leading Lines

Adjustments.jpeg

Leading lines are another way to draw your eye to the subject. These are easy to find since so many flowers can be found with long leaves or near blades of grass.

~ Add in Elements

IMG_3749.jpeg
Adjustments.jpeg
Adjustments.jpeg
IMG_3748.jpeg

There are dozens of phone apps or good old photoshop that can help you add in orbs, bees, butterflies, rainbows or snow for a more whimsical look.

I hope this posts inspires you to get out and get creative with your flower photography now that spring has sprung. If you use any of these tips, I’d love to see what you create. Have a w0nderful day!

Top 6 Photography Mistakes & How to Fix Them 👎🛑

This whole post is cringeworthy for me, but I had to find some examples of the most common photography mistakes I see being made. I honestly still make some of these mistakes myself, so don’t feel bad if you do too. Luckily, they are easy to fix and avoid all together with a little bit of mindfulness.

Over or under saturation / unnatural skin tones~

Adjustments.jpeg

Just look at how unnaturally green this foliage is! The skin tone is also terribly off. It’s really easy to get carried away and amp up (or down) the saturation making some colors look totally off. I end up making this mistake a lot when trying to really bring out the blue spring waters or when adjusting greens that have a tendency to easily get too bright and neon looking. If you find yourself doing this often, try to save the photo before posting it and then come back to it at a later time with fresh eyes. Take your time while editing to make sure you haven’t adjusted the colors so much that they look unnatural.


Not removing ‘junk’ from your photos ~

Adjustments.jpeg

Sometimes a photo would just look better if you edited a few things out before sharing the final image. Some examples of things you might want to remove from a photo include people, trash, signs, fences and rope barriers. In the example above I should have removed the warning sign on the railing. I use the healing tool in Snapseed most often to simply recreate over any unwanted elements.


Poor composition ~

Adjustments.jpeg

Check out this post for more composition tips as poor composition is the quickest way to kill your photo’s potential. This was a video still I pulled from a GoPro video shot by a child. Maybe you can tell, it’s got my feet cut off and it’s blurry.

Not paying attention to the background ~

Adjustments.jpeg

This is the best example I could find of a photo with a background that is a little cluttered. Sometimes, you can blur the background, but a simple change in your angle while shooting is all that’s needed to easily improve the background. Just be mindful when shooting and look behind your subject for other people or elements that take away from the main subject or add too much visual clutter. You also want to make sure there is nothing behind them like a tree that might appear to be coming straight out of someone’s head.

Not editing your photos at all ~

Adjustments.jpg
Adjustments.jpeg

It’s probably the photographer in me, but it pains me to see friends posting unedited images. I can’t help but look at them and think “if only they cropped it”, “if only they applied a quick preset or increased the details it would be that much ‘ better’ of a photo.” A little bit of editing can act as fairy dust even on poor quality mobile phone photos as seen above. I would suggest reading this post where I share some of my top mobile phone editing techniques so you can learn to improve your photos easily and quickly.


Blown out or over-exposed skies ~

IMG_1541.jpeg

Sometimes, I end up with a great photo and a sky that is over exposed and looks white or has a weird glare. I’ve shared this tip before, but replace the sky! You can do this easily in the Pixaloop or Quickshot apps.

I hope these tips help you improve your photography hobby. Have a w0ndeful day!

Photography Gear I Use & Recommend 📷 🎥

Hello! Recently, I’ve been getting a lot of questions about what cameras I use so I decided to make a blog post with the information all in one place. I started taking the photos you see on my Instagram with an Iphone 7 Plus, then moved on to the Nikon D3400 and 3500. I am not going to recommend any of these, but I figured it was worth noting that not all of my photos, even some of the recent ones, were taken with the gear I have now. I am not a major gear enthusiast, but here is what works for me to date. I have included links to the Amazon product listings so you can see the full description, examples of photos taken with each specific item and other customer reviews.

Camera Body: Sony Alpha A6000

IMG-7045.jpg

Compared to a standard DSLR, this mirror-less camera is small, compact and light-weight. You still have complete DSLR control without the bulky size and weight, which is great for hiking and travel. I actually came across a macro shot of a mushroom taken with this camera that I loved so much that I went and bought the camera and lens that took the photo. Although it’s an older camera, it’s still a popular option for beginners.  The camera also easily connects to my phone through WIFI signal for easy uploading and editing. It’s easily an upgrade from my Nikon D3400 and D3500 when it comes to image quality and my next camera will likely also be from the Sony A series.


Camera Lenses:

The everyday lens: Sony SEL35F18 35mm f/1.8 Prime Fixed Lens

IMG-7046.jpg

I bought the kit linked above with the 16-55 mm lens, but misplaced it and purchased this one based off of reviews. This lens is great for motion, night photography and portraits. I find it’s a good everyday lens for now.

The macro lens: Sony SEL50M28 FE 50mm F2.8 Full Frame E-mount Lens (Black)

As I stated earlier, I saw a macro shot of a mushroom that I loved taken with this lens which inspired the purchase. It’s pretty good, but I feel I will eventually upgrade to a different focal length that allows me to zoom in even further just because I love super small clear details in my flower and butterfly photography.

The action/waterproof camera: GoPro Hero 8 Black

I have the GoPro Hero 7 Silver and Hero 8 Black. With the upgrade there is a noticeable difference in image quality and stabilization. What I like about the GoPro is the durability, the fact that it’s waterproof, is small enough to fit in my pocket and the flexibility afforded with the multiple accessorie options. You can strap a Gopro to nearly anything. I have several underwater attachements as well as a motorclycle helmet attachment. If you’re really on the go or in and out of the water a lot, it’s really nice to be able to reach for this camera. The footage is easily uploaded to my phone straight from the camera and the video editing software and free music within the GoPro app itself is my preferred way to edit my videos. The on caveat is the battery only lasts about an hour so I would recommend grabbing some extra batteries.  

The drone: DJI Mavic Mini

Adjustments.jpeg

My boyfriend surprised me with this recently and we have just started using it. I love everything about it so far. We purchased the kit above since it came with extra batteries at a better value then purchasing them separately. Since each battery lasts about 25 minutes, the more the merrier. The one thing this drone doesn’t have is the feature for it to follow you so you might want to look into another DJI model if that is something you are looking for, however the compact size makes it ideal for travel.

The mobile phone: IPhone 11 Pro

IMG-7048.jpg

I knew I wanted this phone for the upgraded camera features the moment I saw it was being released. The IPhone 11 Pro is waterproof up to 4 meters for up to 30 minutes, and the camera upgrades include a a triple-camera system with 12MP ultra wide, wide, and telephoto camera options, night mode, portrait mode and 4K video up to 60fps and a 12MP TrueDepth front camera with Portrait mode, 4K video, and Slo-Mo. The photo and video quality may not be as great as an actual camera, but it’s still the best quality for a mobile phone. I love being able to grab my phone to create content quickly and easily, especially for Instagram stories.


My gear is simple enough for a beginner hobbyist. You don’t need to spend a lot of money to start experimenting with cameras, lenses and photography. As you can see, I started with an IPhone, then moved on to a DSLR and now a mirror-less camera. I’d love to know if you’ve used any of these, specifically the Sony Alpha A6000 and what you upgraded to from there.

Have a w0nderful day!

Easy Mobile Phone Editing Techniques That Changed My Photography 📱

Hello! I wanted to share with you some of my favorite and most used editing techniques - all of which can be done on your phone. I have an Iphone and do not know if these applications are available on all operating systems, but I’m sure a quick google search can provide you a similar applications. I would recommend these tips to anyone who wants to edit their photos just a little bit but doesn’t necessarily have the time or desire to learn a program like photoshop.

~ Change or animate the sky

5B476FAC-998B-49F1-AFE9-993035DBFE6B.JPG

I’ve shared this tip multiple times because it can have a huge impact on a photo. Using the photo editing applications Pixaloop and Quickshot, you can change a dull gray sky into a sunny sky, a sunny day into a sunset or even choose an animated sky. I like to use this feature if my sky is washed out or there aren’t enough clouds for my liking.  Sometimes, I play around with the galaxy sky or lightning if I don’t mind the photo looking highly edited.

~ Animate the photo

I also love to animate photos of water droplets, underwater shots, beach photos, and waterfalls using the Pixaloop application. It’s not for every photo, but it’s super fun to play with.  Just make sure you secure every single little spot you do not want to move and look over it several times before saving it to avoid any unwanted warping of the animation.

~ Seamlessly remove unwanted objects

This photo originally had a huge pole in it that I seamlessly removed with one swipe.

Snapseed has my favorite blemish tool because it replaces the ‘blemish’ with one tap or swipe. It kind of pinches over the spot you are trying to remove or conceal by duplicating the pixels around it. I have removed signs, people, trash, my own tattoos – you name it! I’ve also completely rebuilt fences with this tool. I love it. Just be careful to really inspect the photo afterwards because it can leave some areas looking a little blurry.


~Use Lightroom presets

I am fairly certain this was edited with Sorelle Amore’s preset in microgreens.

First of all, if you aren’t using Lightroom -  you’re missing out. It’s the first photo editing application I put every photo through. Presets are basically pre-saved settings that you apply to a photo and work basically as a filter would. They allow you to edit a photo with just one click. Now adjustments will usually still need to be made after applying a preset, however it gives you a great place to start from. There are many free Lightroom presets out there, but I would recommend purchasing from several different creators on Etsy and then creating your own presets as you edit your own photos.  

 ~ Add in effects

2B121F27-1392-4ACC-817D-896114FF1758.JPG

I use the Lightleap app to add effects to my photos. I most commonly will add in orbs, light rays, rainbows, birds or a sun depending on what I think would enhance the photograph best. Again, it’s not for every photo, but I enjoy a whimsical look so I add in effects quite often.  

~ Increase the details

I would say I use this feature on most photos I edit. I use this on both macro and landscape photos alike. The detail tool in Facetune is my favorite and can easily make certain areas of your photo pop out.

~ Strategically blur areas of your photo to create focus

I use this a lot when editing photos underwater and macro flower shots. I like both the blur tool in Snapseed and the smooth tool in Facetune. The latter gives you more control in the blur placement and intensity. Blurring out certain parts of your photograph, like the background, draws your eye in to the subject more and helps it stand out.

I hope you enjoyed this post and use some of these techniques on your own photos. Have a w0nderful day!


How to Create Instagram-worthy Photos 📷

 
Facetune_17-03-2019-22-37-05.jpeg

I wanted to share with you some of my best tips for getting Instagram-worthy photos of yourself. Actually, I wrote this to teach my friends how to shoot better photos before we go out. Ha! Kidding, but it will come in handy for those situations as well.

Whether you are going the advanced selfie route and using a tripod and remote to take your own photos or asking someone to take a photo for you, here are my tips to guarantee you will love your photos.

1.        Practice the Rule of Thirds

IMG_1770.jpeg

This is a general photography composition ‘rule’. If you were to divide the frame into thirds both vertically and horizontally, or into nine squares, you would want the subject to place where the lines intersect instead of just centered. Some photos will still look better centered, but the rule of thirds can make a photo look just a little bit better composition-wise.


2.        Know Your Best Angles

Adjustments.jpeg

Practice in the mirror what angles look good to you and then test them out in front of the camera to decide what your personal favorites are. For example, I am not a full-on smiling selfie type of girl. My favorite photos of myself in my most comfortable pose is actually me completely facing away from the camera. I just think adventure photos don’t need a face and look better that way. Figure out what you like for your photos and do you!

3.        Make Small Adjustments While Posing

IMG_2239.jpeg

I learned this tip from watching professional models pose. You start in one pose and make very small adjustments between shots. Move your hands slightly, then your legs, your face etc. Don’t just do three completely different poses and move on to the next location. Slow down and practice ‘flow’ posing. Here is a video so you can see this practice in action.

4.        Angle Your Arms and Legs

IMG_0849.jpg

One of my go-to poses is with my hand running through my hair making an angle with my arm. Try this with your hand on your hip and angle your legs or bend your knee while sitting or standing. This gives your pose that added dimension and makes it look more interesting.  

5.        Choose Your Outfit Wisely

IMG_2661.jpg

When I first started taking photos of myself, they didn’t look quite right because my wardrobe was all off. I now wear really basic clothing in solid colors like black, white, yellow, hot pink or blue. These colors look good against natural backgrounds so keep the colors and tones of your setting in mind also while dressing for a shoot.

6.        Visit Beautiful Locations

Facetune_18-04-2019-13-01-08.jpeg

This one kind of speaks for itself. Look for fun locations shoot in to give your photos that wow factor. Try TripAdvisor to find cool spots near you or google Instagram-worthy locations with the name of your city.

7.        Change the Sky

5B476FAC-998B-49F1-AFE9-993035DBFE6B.jpeg

If you find that your sky is lacking detail or is washed out, it’s super easy to swap it out using an application on your phone. I will direct you to my amateur tutorial.  

8.        Get Creative with Props

IMG_4628.jpeg

Bringing along props such as hats, food/drink or pieces of nature such as leaves or shells to add just that extra bit more to your photo shoot. Posing with props can also make you feel a little less awkward while posing.

9.        Shoot During Optimal Times of Day

Adjustments.jpeg

The best time to shoot is during golden hour just before the sun is setting. The worst time is in the afternoon when the bright sun can overexpose the photo or cause harsh shadows. Usually, I go out earlier in the day, get my shots and then enjoy the location before the sun gets too bright and hot here in Florida.

10.     Be Spontaneous, Don’t be Shy and Have Fun!

DSC_0692.jpeg

This is so crucial to getting shots you will love. It’s hard to feel comfortable in front of a camera, especially out in public.  Sometimes, we get shy about taking a photo or pass up an idea we have because it seems silly but don’t overthink and just got for the shot. You will be glad you did.

11. Frame Your Subject

DSC_0512.jpeg

Look for ways to form a visual frame around your subject. Do you see above how squaring off the subject in a photo creates a beautiful focal point? I do this with trees a lot, but other good examples are doorways, windowsills or arches.

12.     Use Leading Lines

72D136DC-3056-4F5E-9DDC-119C43F26EB7.jpeg

Leading lines are always fun to find. As you can see above, they draw your eye right to the subject. Keep your eyes peeled for opportunities to use leading lines in your photos. For example, you can create lading lines using any interesting pathways, fences, bridges or railings.

I hope you guys learned a thing or two to help bring your photos together. Have a w0nderful day!